AutoCAD Hatch Management
SDBox Design Software - Guide for hatch insertion, legend creation, and documentation
Selection - Insert HATCH ZHH
Add Hatch to the drawing by selecting patterns from organized tabs.
The Scale of the Hatch is automatically calculated based on the current Plot Scale.
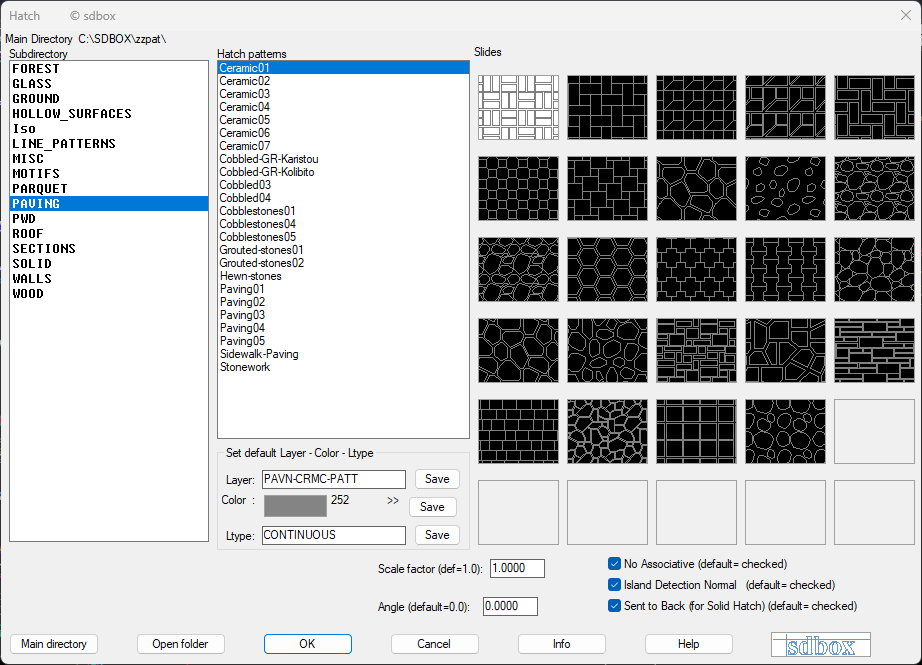
Hatch Selection Interface

Details: Layer Selection
Specify LAYER for 'Hatch Keramika01':
Pick internal point for 'Hatch Keramika01' coverage or [Select/Remove Islands/Advanced]:
Info:
From this point on, the command functions exactly like the standard AutoCAD BHATCH command.
Direct Hatch Commands
Commands for quick access to specific hatch types.
Several commands from the ZHH tab, which are used more frequently, can also be used outside the tab by typing the corresponding command in the command line. The exact same settings apply.
Solid Grays (Color 250-254)
- HH0: Gray-0 (Solid Hatch, Color 250)
- HH1: Gray-1 (Solid Hatch, Color 251)
- HH2: Gray-2 (Solid Hatch, Color 252)
- HH3: Gray-3 (Solid Hatch, Color 253)
- HH4: Gray-4 (Solid Hatch, Color 254)
Visual Reference
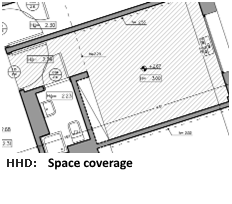
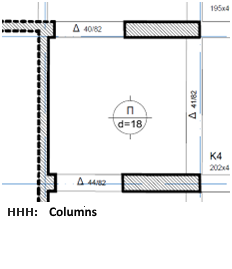
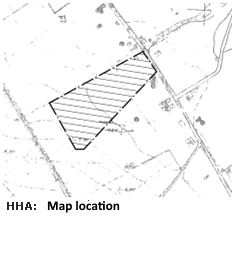
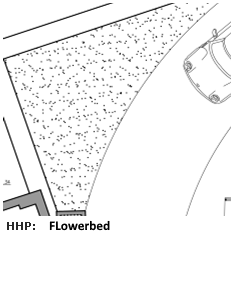
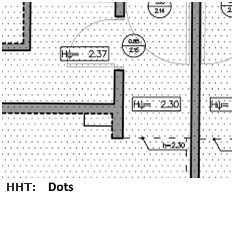
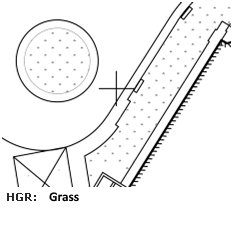
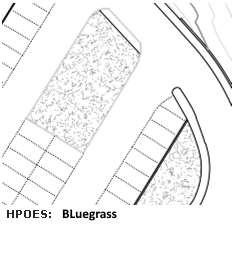
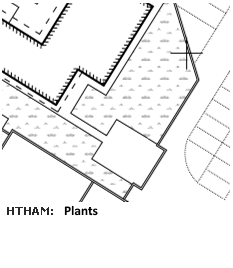
Hatch Legend ZYPHH
Legend of Hatch types selected from the Drawing.
Creates a list on screen (in legend form) displaying the various Hatch types you selected, categorized by Type, Scale, Layer, Color etc., with a description for each line. Each line of the legend also includes the sum of areas per hatch category.
Text Height is defined automatically according to the plot scale. The scales of each Hatch are drawn matching those in the Drawing.
Select objects to display their Hatch in the Legend:
Select objects:
Legend SORTING by? [HName/LType/LAyer/Color/LtScale/LWeight/HAngle/HScale/HType] <HName>:
Pick Insertion Point for Hatch Legend:
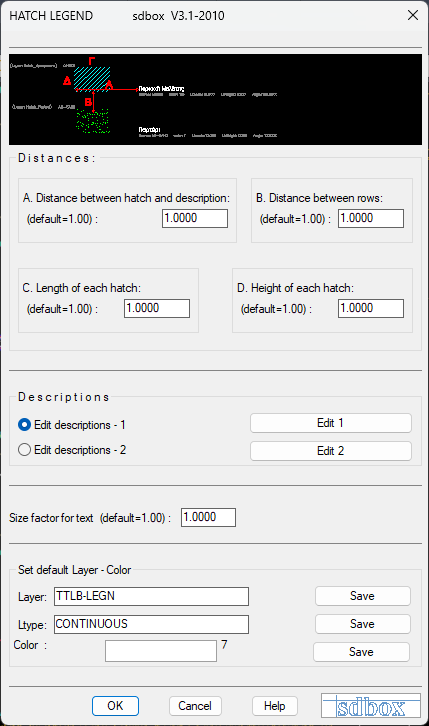
Example of generated Hatch Legend
Sorting Options
- Hname: By Hatch name. (T)
- Layer: By Layer. (L)
- Color: By Color. (C)
- LtScale: By Linetype Scale. (S)
- HAngle, HScale, HType: By Hatch properties. (HA, HS, HT)
Notes:
The color, scale, and other details written in small text on the right can be deleted after the command finishes if you want to prepare the Legend for plotting.
These details are presented to clarify the differences between Hatch categories.
Command Usage:
Besides inserting a Hatch Legend for printing, you can insert the Legend to verify small differences in other elements of the categories (like size or color bylayer etc.) and correct the objects they belong to.
Tips:
When 2 or more categories look the same but appear separately, check the decimals of numbers for Scale or Weight in the legend description.
The command name ZYPHH is an abbreviation of "z YPomnima Hatch" (Hatch Legend).
Commands that open editing files: ZYPHH1, ZYPHH2
^ Back to topList Configuration ZVFE
Opens a tab where you can view and edit the files involved in various commands.
You can also select which file category the command will read when executed.
^ Back to topEditing - 1,2 ZYPHH1, 2
Select which of the 2 available files the ZYPHH command will read during execution to write the correct explanation text according to Hatch name.
By typing ZYPHH1 or ZYPHH2 you define which file the command reads (1 or 2), and you can edit it if you wish.
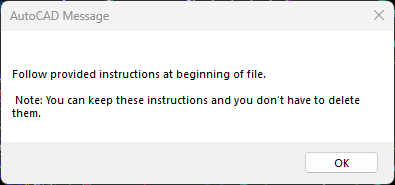
File selection prompt
- No: The command simply sets ZYPHH to read file "1" (or "2") and ends.
- Yes: Sets the file and opens the Description file for editing in Notepad.
Drawing Hatch List ZHHLIST
Open a Notepad file containing a List of Hatch names present in the Drawing.
You can use this command to copy the Hatch names to the Description files where you can then fill in their descriptions.
^ Back to topDetailed Hatch List ZHHLS
Open a file of your choice containing a detailed List (Hatch Name, Layer, Color, Scale etc.) of the objects you select from the Drawing.
Select export file and a set of objects from the Drawing which are analyzed, categorized, and the elements of each category (Hatch Name, Ltype, Layer, Color, Scale, Angle) are exported to the file.
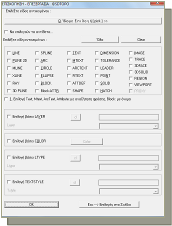
Detailed object selection with filters
^ Back to topTroubleshooting "Broken" Hatch
In case the Hatch looks "broken" or fragmented:
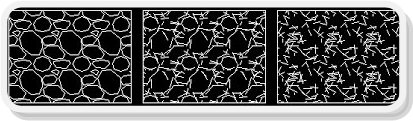
Example of broken hatch display
Solution:
- Double click on the Hatch or type Hatchedit to open the editing window.
- Select “Specified origin”.
- Press the button “Click to set new origin”.
- Pick a point on screen in the middle or at an edge of the Hatch that does not appear correctly.
- Select the “Preview” button to check the Hatch.
- Press OK to finish editing.
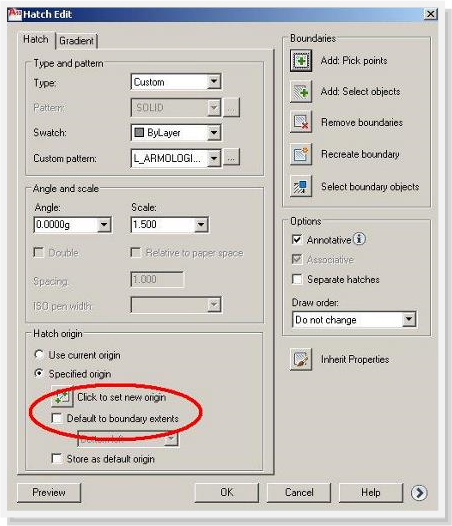
Hatch Edit Dialog settings
^ Back to top